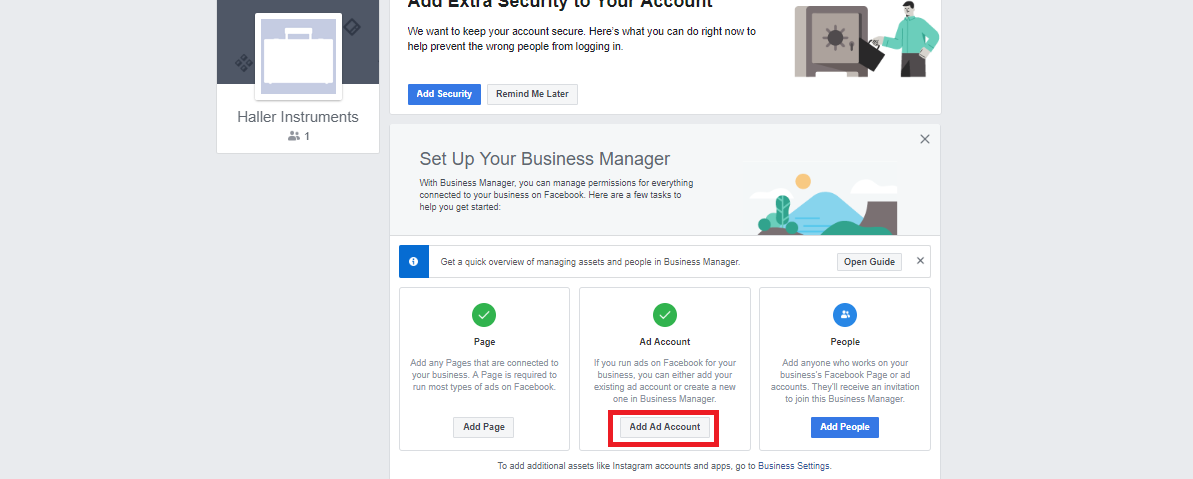
Facebook Business Management is a tool used by businesses to manage their Facebook pages, ad accounts, product catalogs and pixels. We’ve outlined how to create these below.
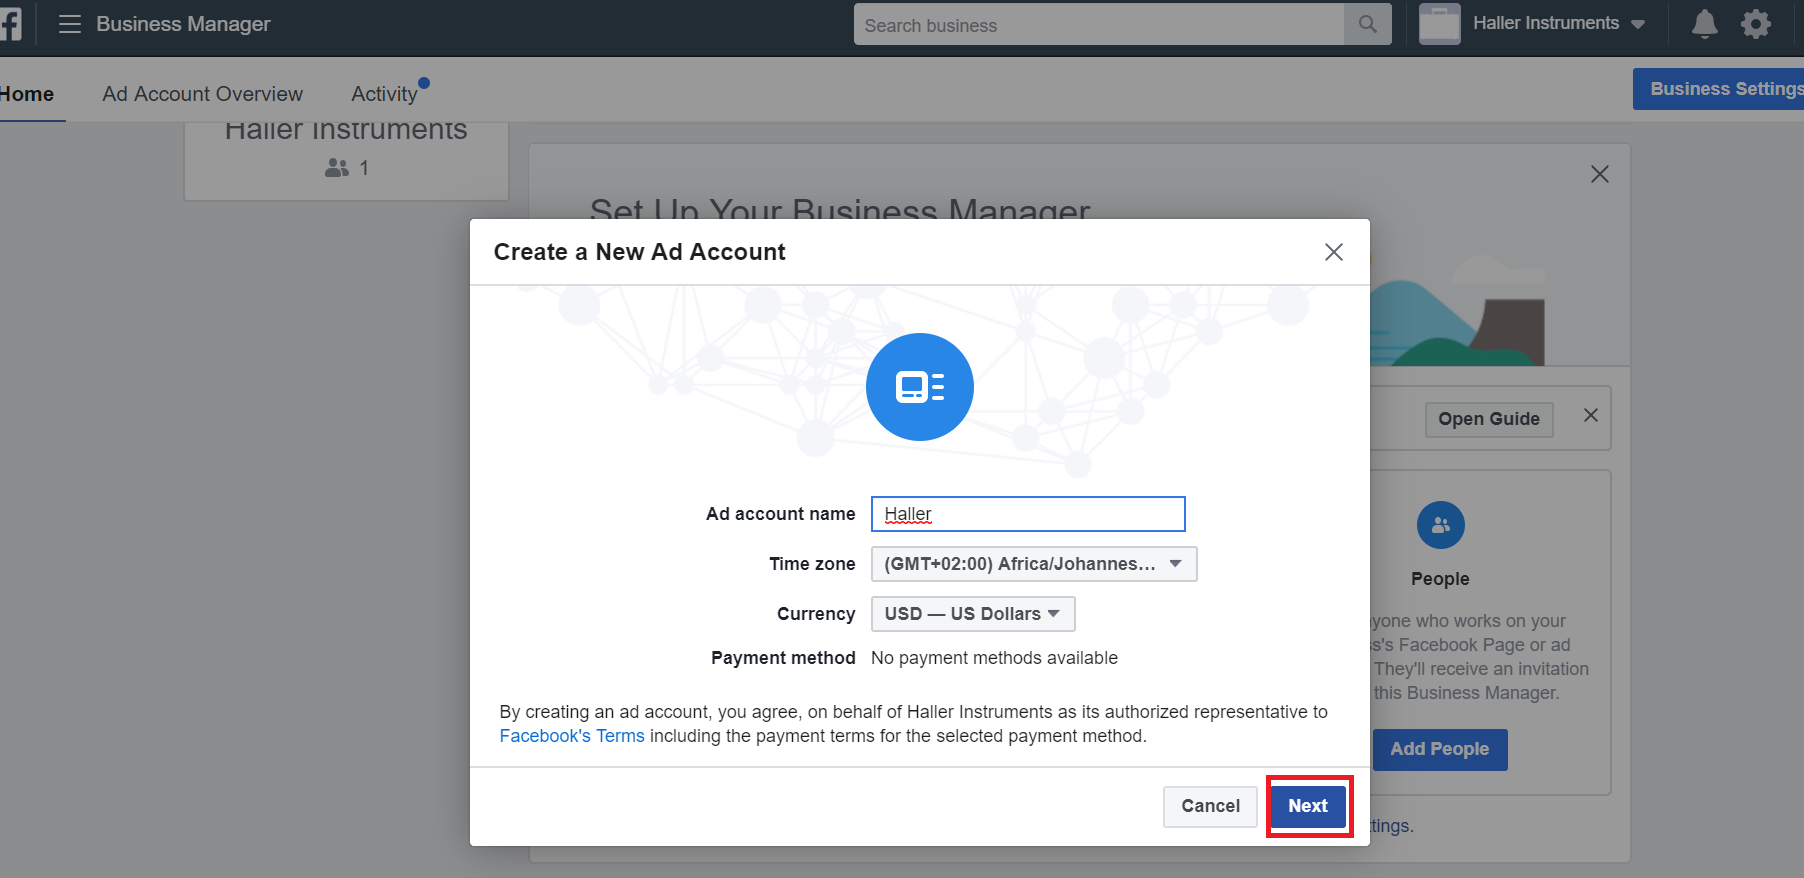
Fill in your Ad account name, Time Zone, Currency and Payment method, then click Next.
You will be asked what the ad account will be used for. Select My Business and then Create.

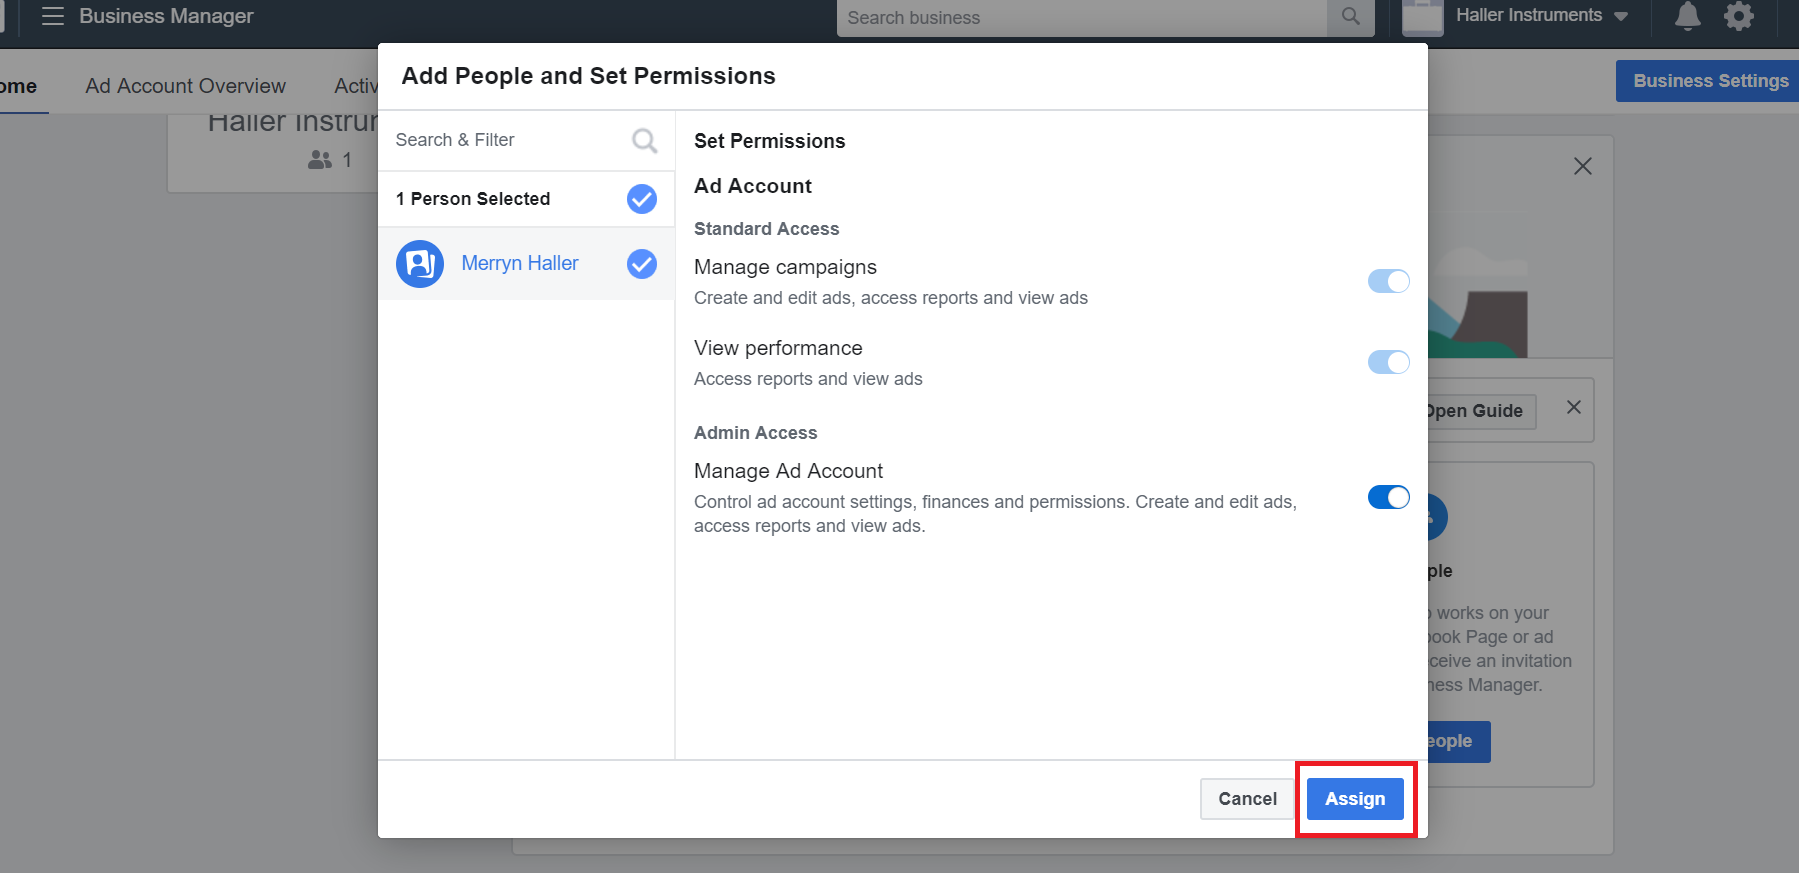
You will be asked to Add People and Set Permissions. Select your name in the left column to grant yourself permission, and set the toggle on Manage Ad Account to the right, so that you are able to control all your ad accounts, view performance and manage campaigns. Then click Assign.
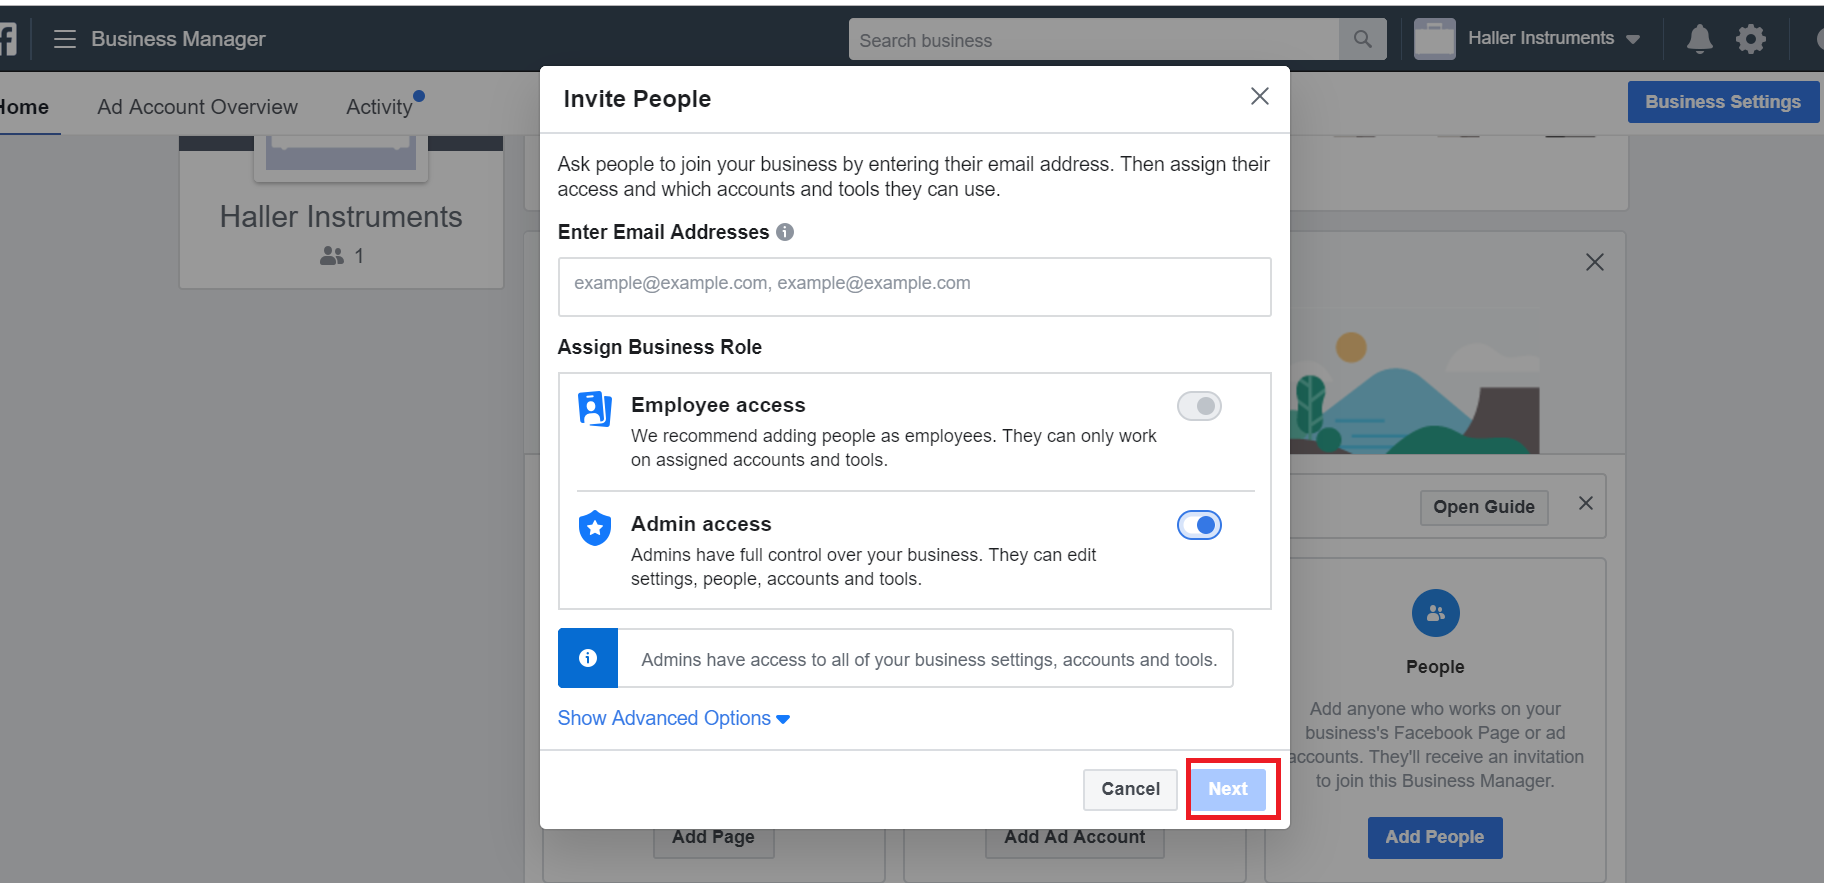
You can also assign access to other users. Simply type in the user’s email address and choose between employee and admin access. Then click Next.
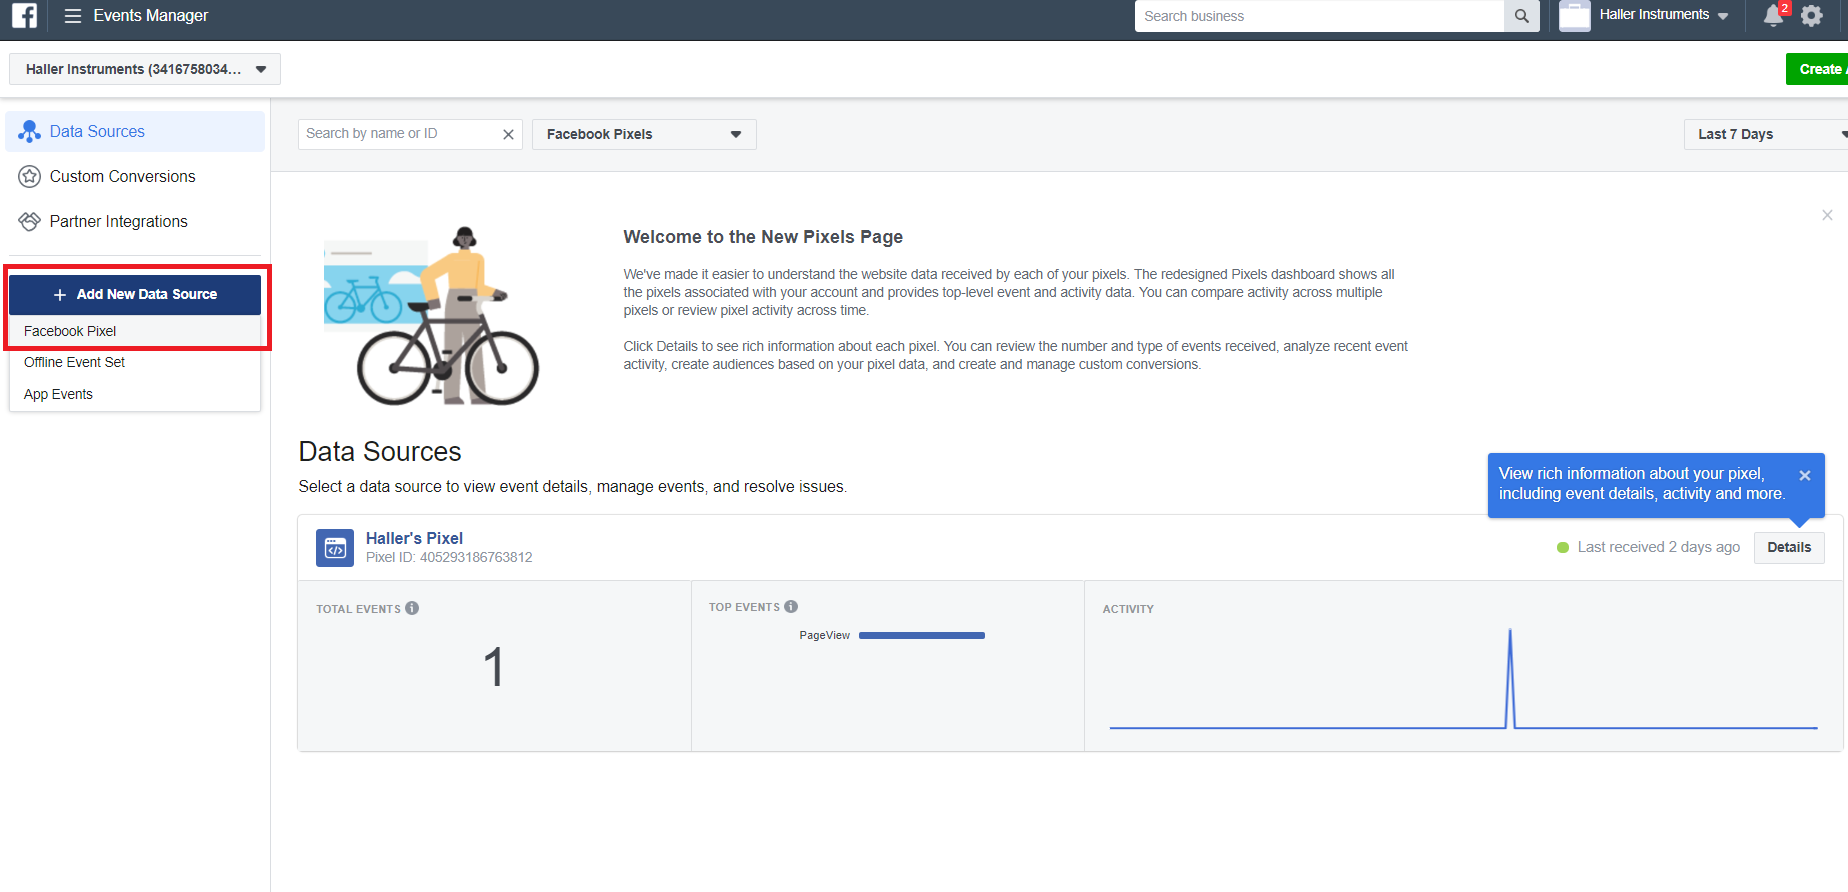
From the New Pixels Page, click Add new data source -> Facebook Pixel.
Enter your pixel name (this can be anything i.e. the name of your store) and the URL of your website (MyTshirts.myshopify.com). Then click Create.
To start tracking events, you need to install the pixel by adding it to your website. Click Connect a partner platform.
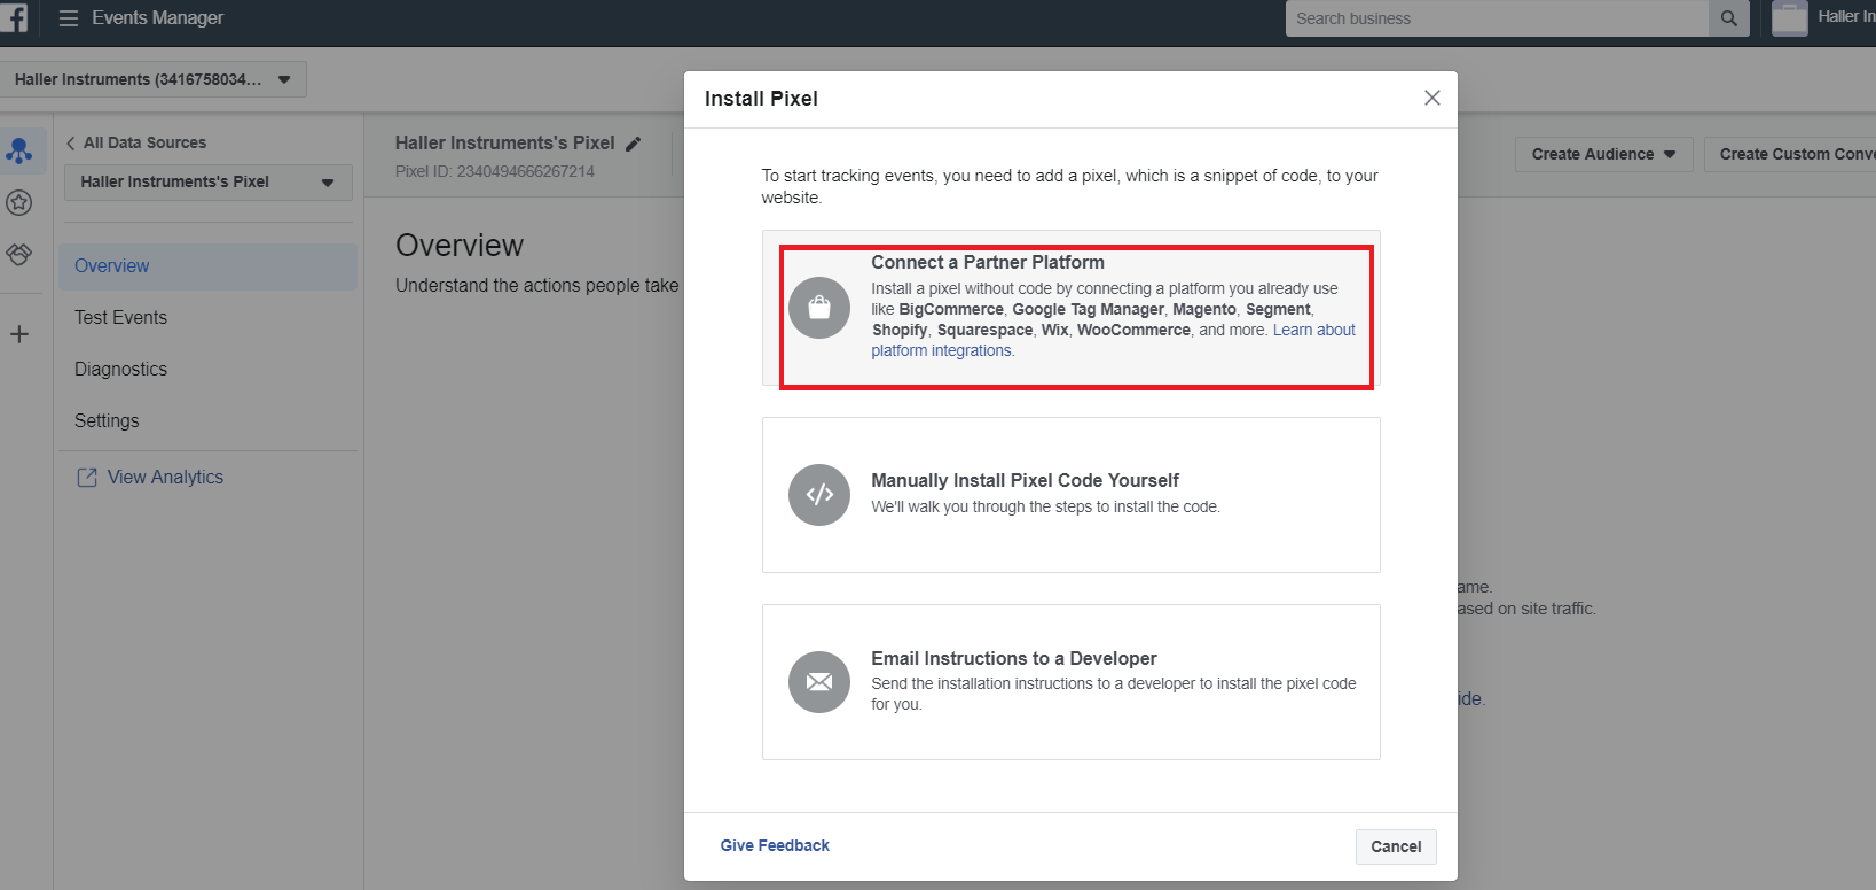
Select the platform you’re using for your online store, whether it be Shopify, Magento, WooCommerce etc.

Connect to your desired platform by following the prompts and switch Automatic Advanced Matching on or off, according to your needs. Then click Continue.

Facebook Business Manager will then instruct you on how to verify that your Facebook Pixel is working correctly.

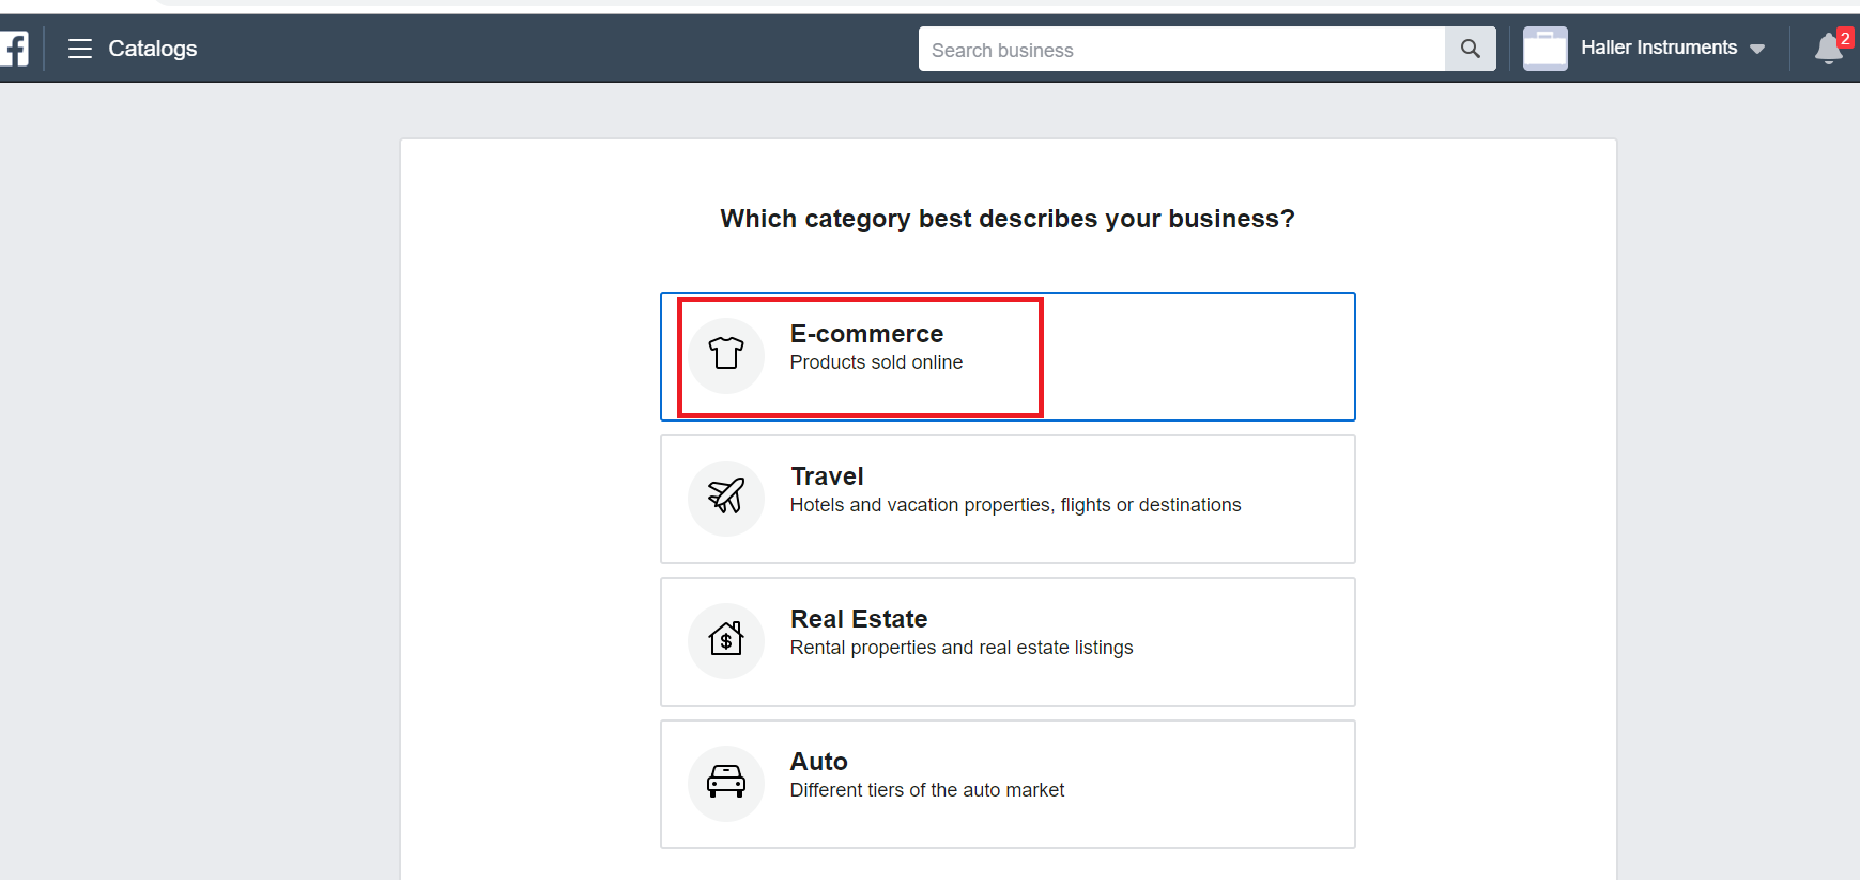
Select E-commerce as your business category then click Next.
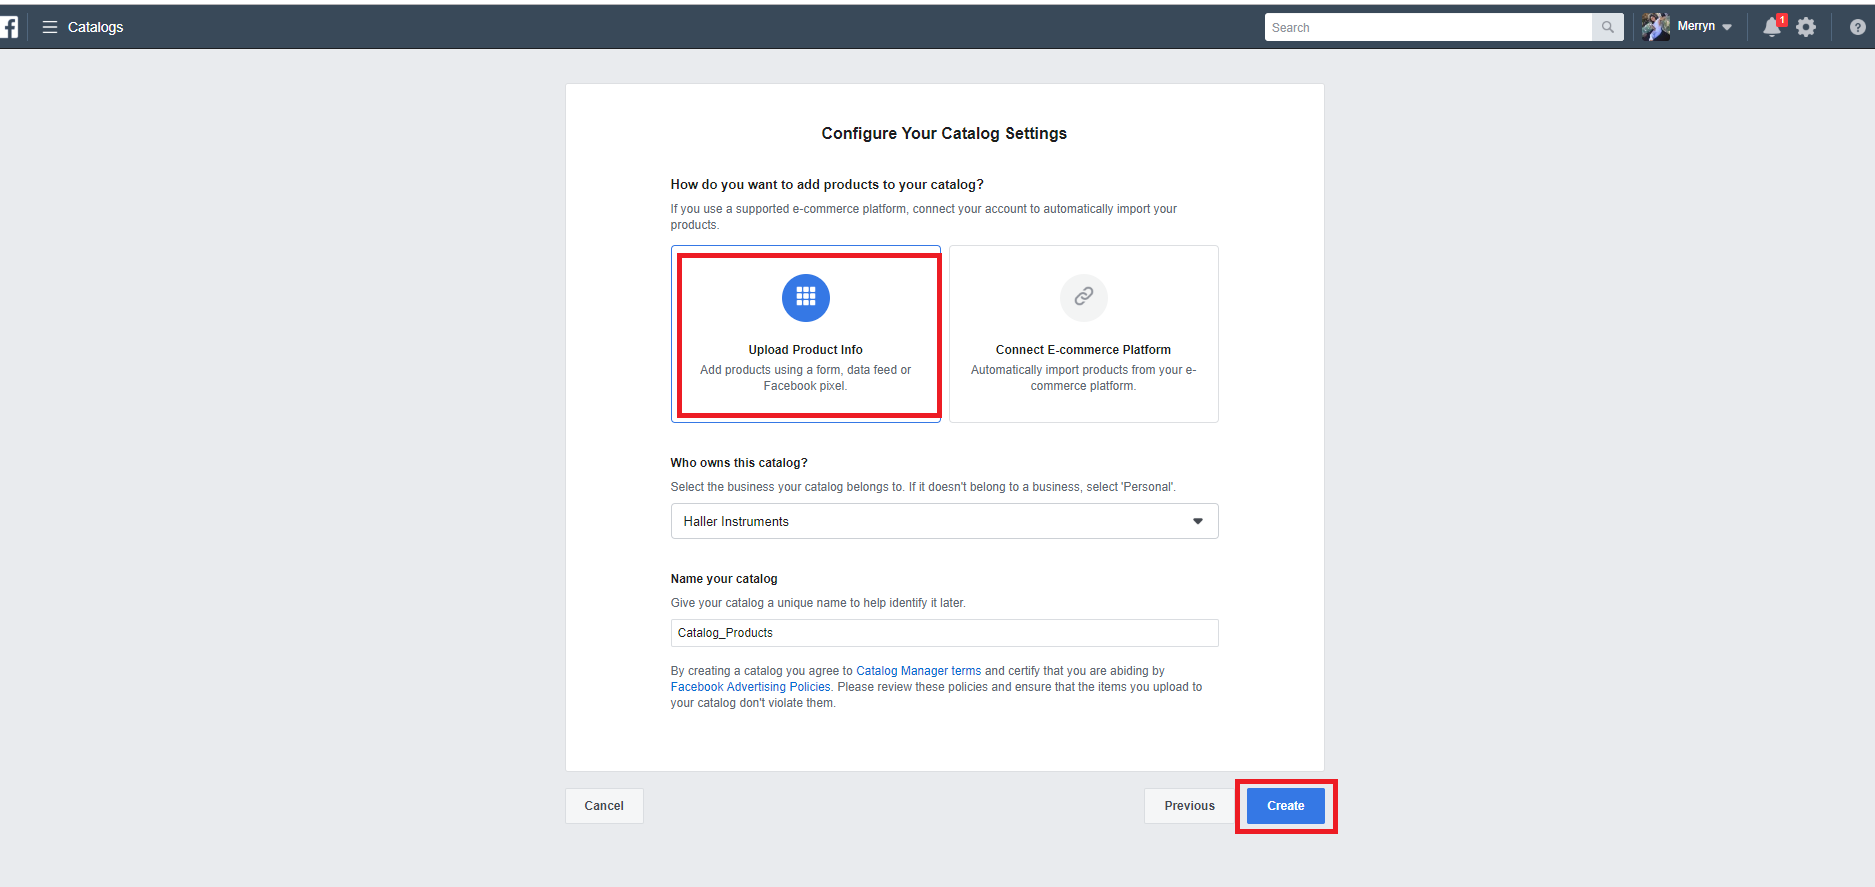
Select Upload Product Info and select your business as the owner of the catalog . Then name the catalog and click Create. Once the catalog is created, click View Catalog.
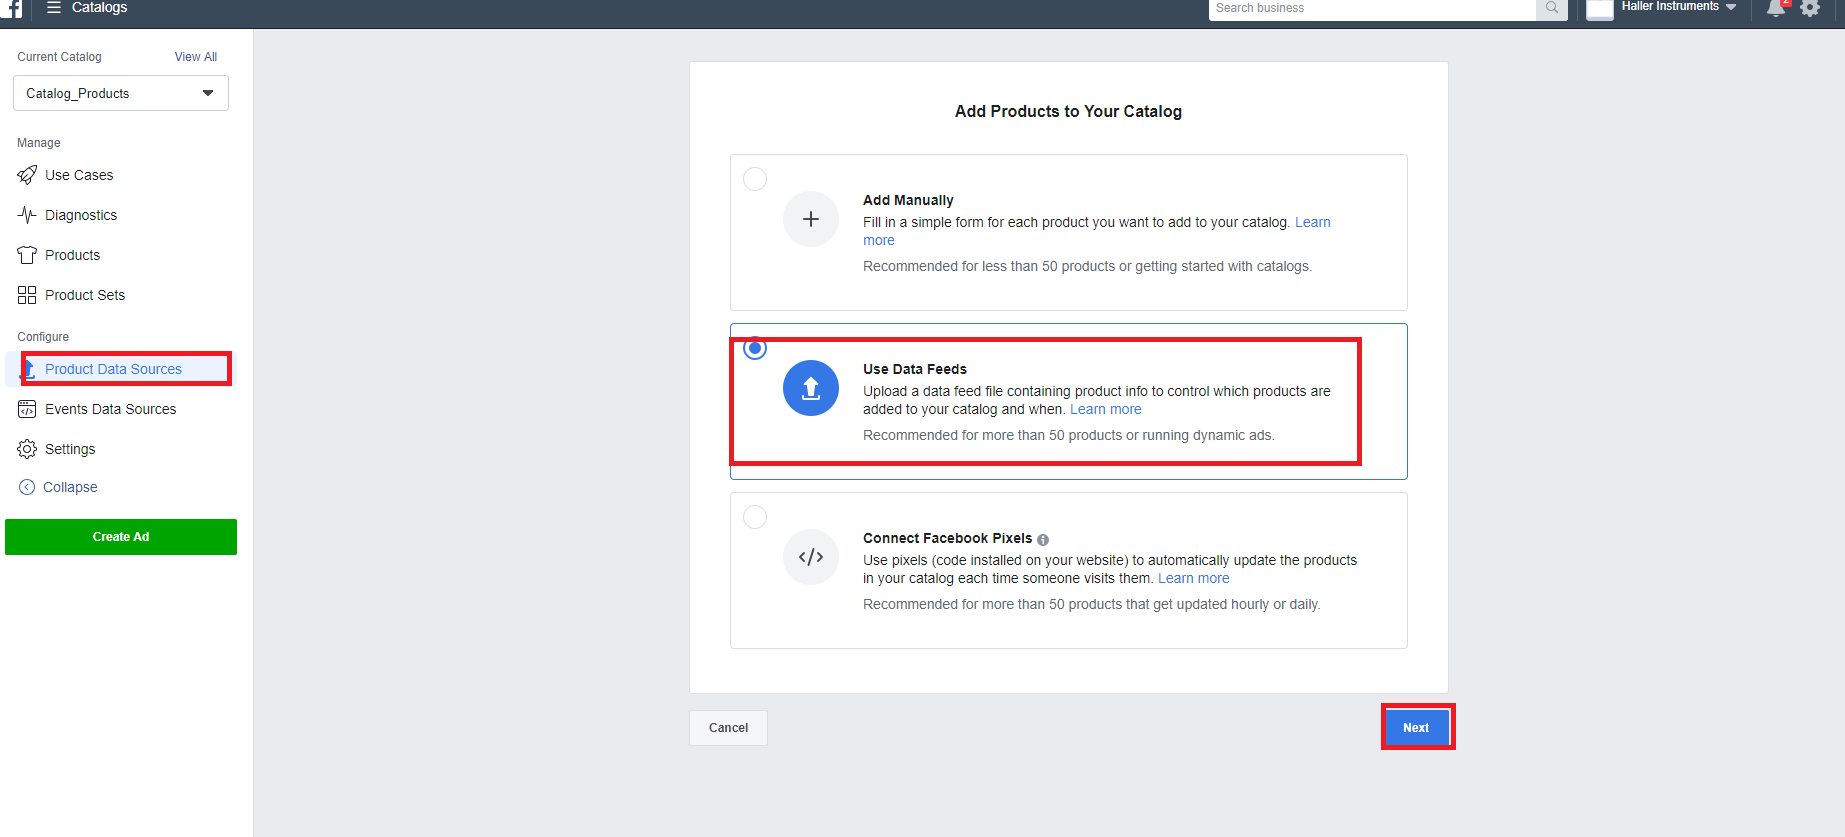
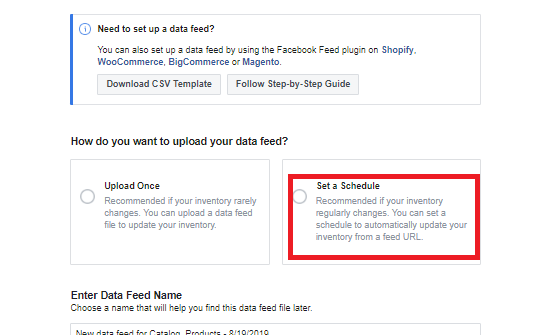
Select Product Data Sources -> Add Products -> Use Data Feeds -> Next.
Select Set a Schedule as your method of uploading your data feed. This option is recommended for stores with stock that changes regularly.
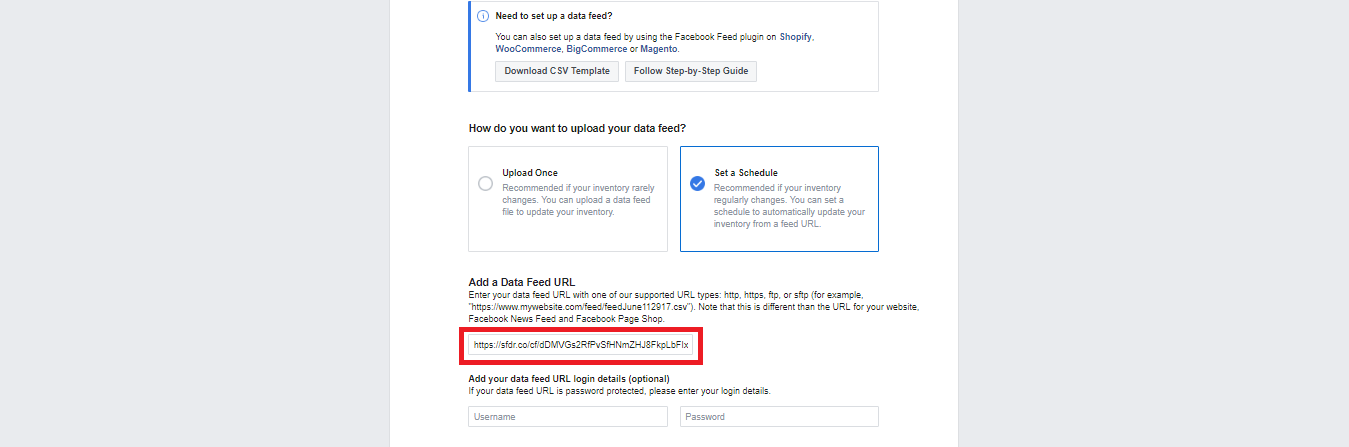
You will then be asked to Add a Data Feed URL, which you can copy from your ShoppingFeeder dashboard.
In a separate tab, log into ShoppingFeeder and go to Feed Management -> Channel Management. Go the desired Data Feed and clink on the URL icon. Then copy the URL.

Return to your Business Manager tab, then paste the URL you just copied in the box below Add a Data Feed URL. Select the box on the right hand side that says Start a Schedule. Shedule your automatic uploads either hourly, daily, or weekly at a certain time, and select your default currency. Then click Start Upload.
Now that your catalog, page, pixel and ad account is set up, you can begin creating a Facebook Dynamic Ad here.
Pingback: How to setup Facebook Dynamic Ads – ShoppingFeeder Help